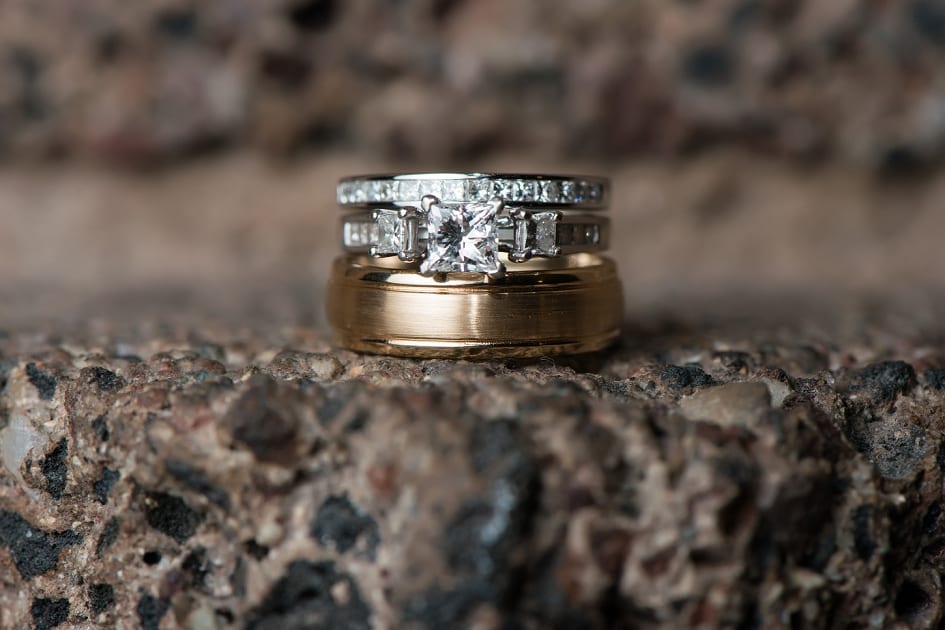
When you’ve been shooting weddings for a long time, you pick up a few tricks along the way ;-) Over the next few weeks, we’ll be sharing some of the things we use that help us make the most of every wedding day.
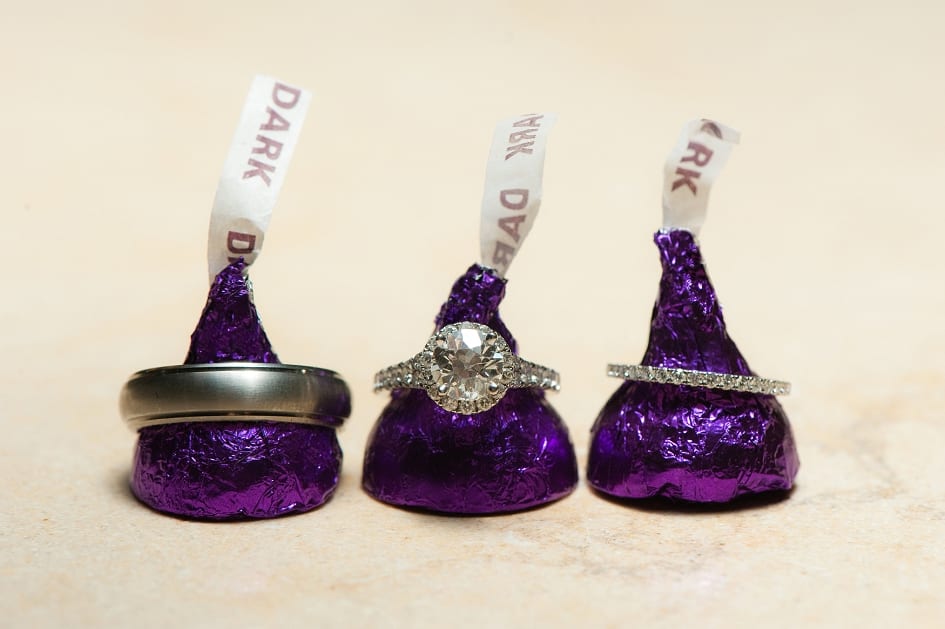
HOW TO PHOTOGRAPH WEDDING RINGS
Shooting wedding rings can be a challenge. They are small and reflective, making it hard to achieve sharp, clear focus. To add to that, many couples don’t have all three rings in the same place before the ceremony, so you end up shooting them in very low lighting situations during the reception. A few years ago we settled on a formula that we apply every time we shoot rings. There are lots of different approaches out there, but this method works really well for us.
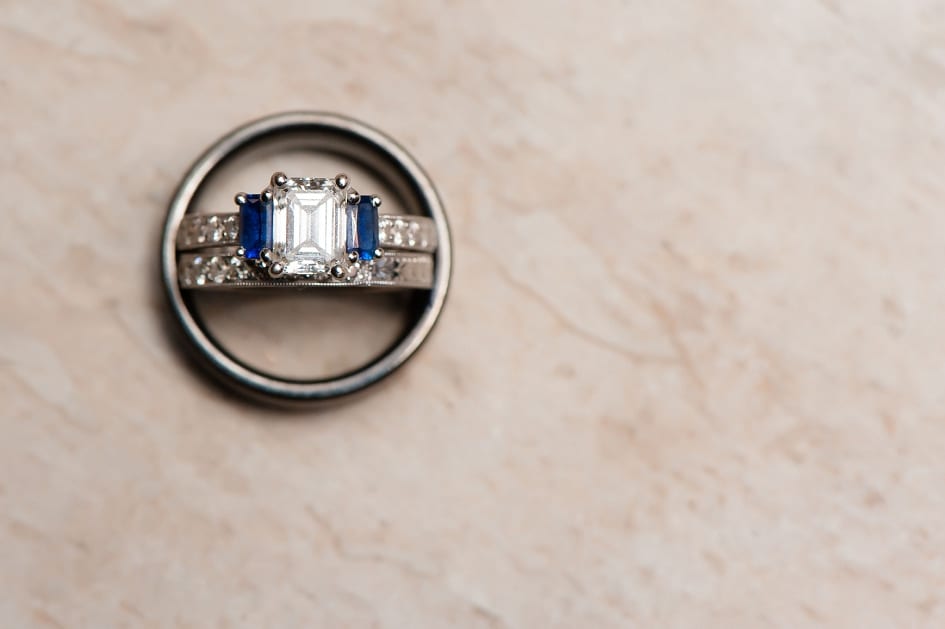
The Gear
We are firm believers in the fact that it’s the photographer BEHIND the camera that makes an image great, not the camera itself. However, having the right gear does make your life a lot easier. Here’s what we use when we photograph rings:
- Nikon 105mm Macro Lens
- Off Camera Flash w/ remote triggers (In our case an SB-800 flash and a Cyber Sync trigger transmitter and receiver)
- Small Reflector with a white side (we use the 22″ because it ‘s light and portable)
Having a Macro lens is not an absolute necessity, but we love the look of the rings with it. With a standard lens you can’t get very close to your subject. For example, the Nikon 50mm 1.4 lens is one of our go to lenses, but you have to be at least a foot and a half away from your subject in order to get a focused shot. Now, most of the time, that’s plenty of space, but when you’re shooting something so small, you want to get in close and be able to fill up more of the frame. Macro lenses are specifically designed to shoot at close range. If you don’t have one, you can opt for a different lens, but you may have to shoot a little farther off and crop the image after the fact to get what you’re looking for.
The Setup
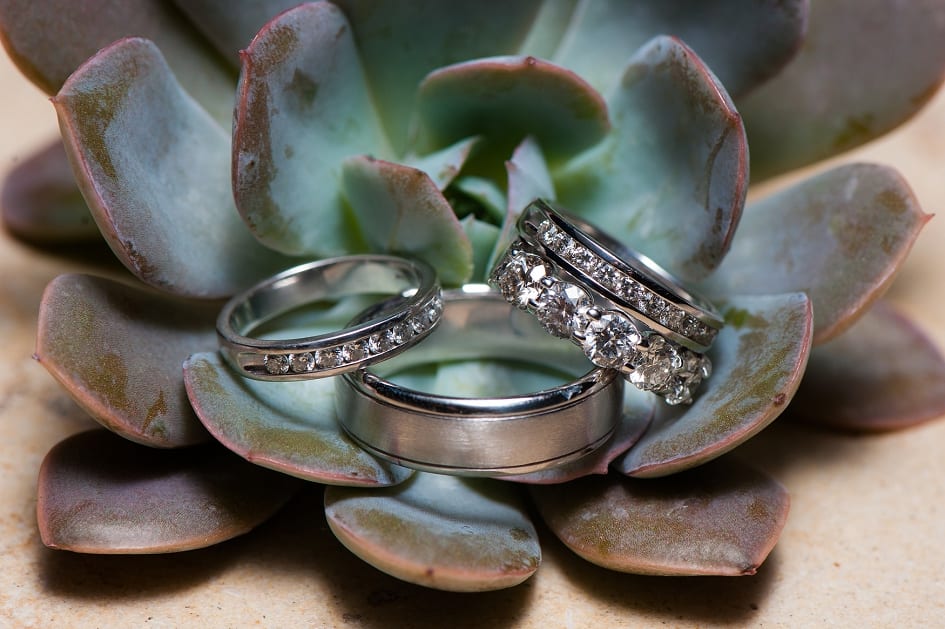
Find a good backdrop. Look for a backdrop that is simple and has some texture to it. Sometimes we’ll try to incorporate something meaningful from the couple’s decor to give it a more personalized look. Keep in mind though, if you choose an object to include it should be something small. If you put the rings on something big, they get lost and you won’t really get the effect you’re looking for.
Dial in your camera settings. Dial your aperture to f/11. Using a fairly closed aperture setting will make sure that most of the rings are in focus. That way if you can’t focus on exactly the area you want, you’ll still be ok. Set the shutter speed anywhere between 1/60 and 1/100. You’ll be using flash so you won’t have to worry about motion blur even if that’s typically slower than you can hand hold. Start with the ISO set around 400, but feel free to adjusted to make your scene brighter or darker.
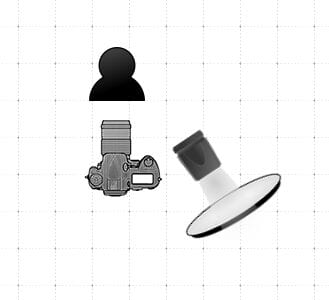
Set up your flash. Attach the flash transmitter to your camera’s hotshoe mount and plug it in so it will trigger the off camera flash. Attach the receiver to the flash. Set the flash to manual on 1/16 power. Have an assistant stand a foot or two away at a 45 degree angle to the front with the white side of the reflector facing the rings. He/she then holds the flash with their other hand and points it into the white side of the reflector. The light bounces off the reflector and back onto the rings, creating a big, soft light source. The size of the light source makes all the difference in the quality of your light. As you can imagine, using your flash on your camera pointed directly at the rings would not create the same look. Smaller light sources create much harsher shadows and hot spots so using the reflector to make that big soft light is the way to go. (In this diagram the person represents the subject – the rings.)
Set your focus. You’ll need at least a little light to get your lens to focus. If the area you’re shooting in is too dark, you can turn on your camera AF assist light or pull out your trusty iPhone flashlight and shine it at the rings to help you out. When using the 105mm Macro, we tend to get better results from setting our focus manually by turning the focus ring on the lens rather than relying on the auto focus.
Shoot and adjust. Take a test shot and then make adjustments to achieve your desired result. Is your image too dark? Up your ISO to bring more light to the whole scene. Up the power of the flash to have more light on the rings. Don’t love the angle of the light? Adjust the position of the flash and reflector. Sometimes a more dramatic look can be created by positioning the flash at a 90 degree angle to the rings.
Hope you enjoyed today’s post! Let us know if you found it helpful by leaving a comment or sending us an email. If you have a question for us that you’d like to have us talk about in a future post please share. We’d love your suggestions!
To be notified when we post more photography tips, “like” our facebook page :-) Want to see past posts like this? Click here.